
How to apply vinyl decals the right way can completely transform any space — whether it’s your home, office, or even a commercial setting. At Vantage Vinyl Decals, we offer premium-quality vinyl decals that are easy to apply, simple to remove, and leave no mess behind. In this guide, we’ll take you through a step-by-step process to apply vinyl decals like a pro.
Why Choose Vinyl Wall Decals?
Before we jump into the steps, here’s why vinyl wall decals are a great choice:
- Easy to apply and remove
- Damage-free for most walls
- Affordable and customizable
- Perfect for renters and homeowners alike
Now, let’s get started!
What You’ll Need
Before applying your wall decal, gather the following tools:
- Your vinyl decal from vantagevinyldecals.com
- A clean cloth or paper towel
- Tape measure or ruler
- Masking tape (optional)
- Squeegee or credit card
How to apply vinyl decals – Step 1: Clean the Surface
Make sure the wall is clean, dry, and smooth. Use a damp cloth to remove dust, dirt, or grease. Let the surface dry completely before applying the decal.
💡 Tip: Avoid using harsh chemicals or cleaners that leave residue.
How to apply vinyl decals – Step 2: Plan Your Placement
Use a tape measure to find the perfect spot for your decal. You can lightly mark the area with a pencil or use masking tape to create a guideline.
🔧 Pro Tip: If your decal comes in multiple pieces, lay them out first to get a sense of spacing.
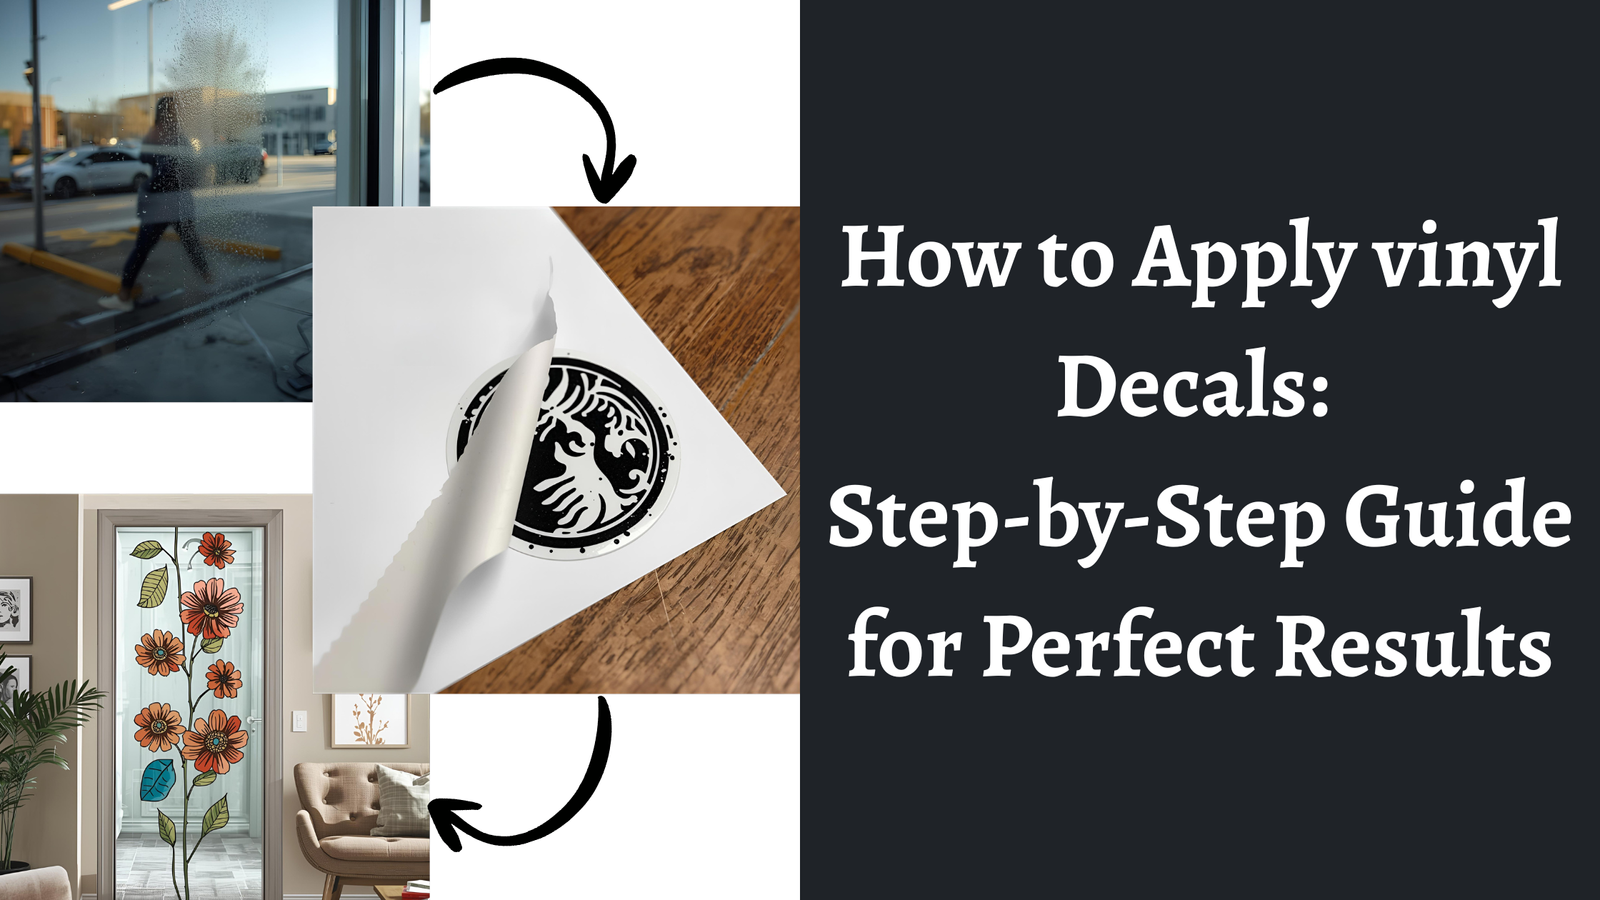
How to apply vinyl decals – Step 3: Peel the Backing Paper
Carefully peel the white backing paper away from the decal. Make sure the decal sticks to the transfer tape (the clear or semi-transparent top layer).
If any part of the decal stays on the backing paper, press it down gently and peel again.
How to apply vinyl decals – Step 4: Apply the Decal to the Wall
Align the decal with your guideline and gently press the transfer tape (with the decal) onto the wall.
Start from the center and work your way outward, smoothing out any bubbles with a squeegee or credit card.
⚠️ Be gentle but firm to ensure proper adhesion.
How to apply vinyl decals – Step 5: Remove the Transfer Tape
Once the decal is firmly in place, slowly peel away the transfer tape at a 45-degree angle. Do this carefully to avoid lifting the decal.
If part of the decal starts to lift with the tape, press it back down and try again.
How to apply vinyl decals – Step 6: Smooth Out Air Bubbles
If you notice any air bubbles, use your squeegee to push them out toward the edges. For small bubbles, a pin can be used to gently release the air.
🎨 Your wall decal should now look clean, smooth, and professionally applied!
How to apply vinyl decals – Extra Tips for Best Results
- Wait at least 24 hours after painting your wall before applying a decal.
- Apply decals in a dust-free and low-humidity environment.
- Don’t rush! Take your time for the best outcome.
Shop High-Quality Wall Decals Online
At Vantage Vinyl Decals, we offer a wide selection of vinyl decals for every style and space. From inspirational quotes to decorative graphics, our decals are made with premium materials and precision-cut for easy application.
✅ Browse our collection today and transform your space effortlessly!
Final Thoughts
Applying wall decals is a fun and easy DIY project that can completely change the vibe of a room. Whether you’re decorating a nursery, office, or living room, following these simple steps will ensure your decal looks flawless.
For the best results, always choose trusted vinyl products like the ones at vantagevinyldecals.com.